Generate Front-end Code to Consume Platformatic REST API
By default, a Platformatic app exposes REST API that provide CRUD (Create, Read, Update, Delete) functionality for each entity (see the Introduction to the REST API documentation for more information on the REST API).
Platformatic CLI allows to auto-generate the front-end code to import in your front-end application to consume the Platformatic REST API.
This guide
- Explains how to create a new Platformatic app.
- Explains how to configure the new Platformatic app.
- Explains how to create a new React or Vue.js front-end application.
- Explains how to generate the front-end TypeScript code to consume the Platformatic app REST API.
- Provide some React and Vue.js components (either of them written in TypeScript) that read, create, and update an entity.
- Explains how to import the new component in your front-end application.
Create a new Platformatic app
Run this command in your terminal to start the Platformatic creator wizard:
- npm
- yarn
- pnpm
npm create platformatic@latest
yarn create platformatic
pnpm create platformatic@latest
This interactive command-line tool will ask you some questions about how you'd like to set up your new Platformatic project. For this guide, select these options:
- What kind of project do you want to create?   => Application
- Where would you like to create your project?  => quick-start
- Which kind of project do you want to create?  => DB
- What is the name of the service?              => (generated-randomly), e.g. legal-soup
- What is the connection string?                => sqlite://./db.sqlite
- Do you want to create default migrations?     => Yes
- Do you want to create another service?        => No
- Do you want to use TypeScript?                => No
- What port do you want to use?                 => 3042
- Do you want to init the git repository?       => No
Once the wizard is complete, you'll have a Platformatic app project in the
folder quick-start, with example migration files, plugin script,
routes, and tests inside your service directory under services/
Make sure you run the npm/yarn/pnpm command install command manually if you
don't ask the wizard to do it for you.
Configure the new Platformatic app
Every Platformatic app uses the "Movie" demo entity and includes the corresponding table, migrations, and REST API to create, read, update, and delete movies.
Once the new Platformatic app is ready:
- Set up CORS in
platformatic.db.json
{
  "$schema": "https://platformatic.dev/schemas/v0.24.0/db",
  "server": {
    "hostname": "{PLT_SERVER_HOSTNAME}",
    "port": "{PORT}",
    "logger": {
      "level": "{PLT_SERVER_LOGGER_LEVEL}"
    },
+   "cors": {
+     "origin": {
+       "regexp": "/*/"
+     }
+   }
  },
  ...
}
You can find more details about the cors configuration here.
- launch Platformatic through
npm start. Then, the Platformatic app should be available at thehttp://127.0.0.1:3042/URL.
Create a new Front-end Application
Refer to the Scaffolding Your First Vite Project documentation to create a new front-end application, and call it "rest-api-frontend".
Please note Vite is suggested only for practical reasons, but the bundler of choice does not make any difference.
If you are using npm 7+ you should run
- React
- Vue.js
npm create vite@latest rest-api-frontend -- --template react-ts
npm create vite@latest rest-api-frontend -- --template vue-ts
and then follow the Vite's instructions
Scaffolding project in /Users/noriste/Sites/temp/platformatic/rest-api-frontend...

Done. Now run:

  cd rest-api-frontend
  npm install
  npm run dev
Once done, the front-end application is available at http://localhost:5174/.
Generate the front-end code to consume the Platformatic app REST API
Now that either the Platformatic app and the front-end app are running, go to the front-end codebase and run the Platformatic CLI
cd rest-api-frontend/src
npx platformatic client http://127.0.0.1:3042 --frontend --language ts
Refer to the Platformatic CLI frontend command documentation to know about the available options.
The Platformatic CLI generates
api.d.ts: A TypeScript module that includes all the OpenAPI-related types. Here is part of the generated code
interface GetMoviesRequest {
  'limit'?: number;
  'offset'?: number;
  // ... etc.
}

interface GetMoviesResponseOK {
  'id'?: number;
  'title': string;
}


// ... etc.

export interface Api {
  setBaseUrl(baseUrl: string): void;
  getMovies(req: GetMoviesRequest): Promise<Array<GetMoviesResponseOK>>;
  createMovie(req: CreateMovieRequest): Promise<CreateMovieResponseOK>;
  // ... etc.
}
api.ts: A TypeScript module that includes a typed function for every single OpenAPI endpoint. Here is part of the generated code
import type { Api } from './api-types'

let baseUrl = ''
export function setBaseUrl(newUrl: string) { baseUrl = newUrl };

export const createMovie: Api['createMovie'] = async (request) => {
  const response = await fetch(`${baseUrl}/movies/`, {
    method:'post',
    body: JSON.stringify(request),
    headers: {
      'Content-Type': 'application/json'
    }
  })

  if (!response.ok) {
    throw new Error(await response.text())
  }

  return await response.json()
}

// etc.
You can add a --name option to the command line to provide a custom name for the generated files.
cd rest-api-frontend/src
npx platformatic client http://127.0.0.1:3042 --frontend --name foobar --language ts
This will generate foobar.ts and foobar-types.d.ts
React and Vue.js components that read, create, and update an entity
You can copy/paste the following React or Vue.js components that import the code the Platformatic CLI generated.
- React
- Vue.js
Create a new file src/PlatformaticPlayground.tsx and copy/paste the following code.
import { useEffect, useState } from 'react'

// getMovies, createMovie, and updateMovie are all functions automatically generated by Platformatic
// in the `api.ts` module.
import { getMovies, createMovie, updateMovie, setBaseUrl } from './api'

setBaseUrl('http://127.0.0.1:3042') // configure this according to your needs

export function PlatformaticPlayground() {
  const [movies, setMovies] = useState<Awaited<ReturnType<typeof getMovies>>>([])
  const [newMovie, setNewMovie] = useState<Awaited<ReturnType<typeof createMovie>>>()

  async function onCreateMovie() {
    const newMovie = await createMovie({ title: 'Harry Potter' })
    setNewMovie(newMovie)
  }

  async function onUpdateMovie() {
    if (!newMovie || !newMovie.id) return

    const updatedMovie = await updateMovie({ id: newMovie.id, title: 'The Lord of the Rings' })
    setNewMovie(updatedMovie)
  }

  useEffect(() => {
    async function fetchMovies() {
      const movies = await getMovies({})
      setMovies(movies)
    }

    fetchMovies()
  }, [])

  return (
    <>
      <h2>Movies</h2>

      {movies.length === 0 ? (
        <div>No movies yet</div>
      ) : (
        <ul>
          {movies.map((movie) => (
            <li key={movie.id}>{movie.title}</li>
          ))}
        </ul>
      )}

      <button onClick={onCreateMovie}>Create movie</button>
      <button onClick={onUpdateMovie}>Update movie</button>

      {newMovie && <div>Title: {newMovie.title}</div>}
    </>
  )
}
Create a new file src/PlatformaticPlayground.vue and copy/paste the following code.
<script lang="ts" setup>
import { ref, onMounted } from 'vue';

// getMovies, createMovie, and updateMovie are all functions automatically generated by Platformatic
// in the `api.ts` module.
import { getMovies, createMovie, updateMovie } from './api'

const movies = ref<Awaited<ReturnType<typeof getMovies>>>([])
const newMovie = ref<Awaited<ReturnType<typeof createMovie>> | undefined>()

async function onCreateMovie() {
  const newMovie = await createMovie({ title: 'Harry Potter' })
  newMovie.value = newMovie
}

async function onUpdateMovie() {
  if (!newMovie.value || !newMovie.value.id) return

  const updatedMovie = await updateMovie({ id: newMovie.value.id, title: 'The Lord of the Rings' })
  newMovie.value = updatedMovie
}

onMounted(async () => {
  const movies = await getMovies({})
  movies.value = movies
})
</script>

<template>
  <h2>Movies</h2>

  <div v-if="movies.length === 0">No movies yet</div>
  <ul v-else>
    <li v-for="movie in movies" :key="movie.id">
      {{ movie.title }}
    </li>
  </ul>

  <button @click="onCreateMovie">Create movie</button>
  <button @click="onUpdateMovie">Update movie</button>

  <div v-if="newMovie">{{ newMovie.title }}</div>
</template>
Import the new component in your front-end application
You need to import and render the new component in the front-end application.
- React
- Vue.js
Change the App.tsx as follows
import { useState } from 'react'
import reactLogo from './assets/react.svg'
import viteLogo from '/vite.svg'
import './App.css'

+import { PlatformaticPlayground } from './PlatformaticPlayground'

function App() {
  const [count, setCount] = useState(0)

  return (
    <>
+     <PlatformaticPlayground />
      <div>
        <a href="https://vitejs.dev" target="_blank">
          <img src={viteLogo} className="logo" alt="Vite logo" />
        </a>
        <a href="https://react.dev" target="_blank">
          <img src={reactLogo} className="logo react" alt="React logo" />
        </a>
      </div>
      <h1>Vite + React</h1>
      <div className="card">
        <button onClick={() => setCount((count) => count + 1)}>count is {count}</button>
        <p>
          Edit <code>src/App.tsx</code> and save to test HMR
        </p>
      </div>
      <p className="read-the-docs">Click on the Vite and React logos to learn more</p>
    </>
  )
}

export default App
Change the App.vue as follows
<script setup lang="ts">
import HelloWorld from './components/HelloWorld.vue'

+import PlatformaticPlayground from './PlatformaticPlayground.vue'
</script>

<template>
+ <PlatformaticPlayground />
  <div>
    <a href="https://vitejs.dev" target="_blank">
      <img src="/vite.svg" class="logo" alt="Vite logo" />
    </a>
    <a href="https://vuejs.org/" target="_blank">
      <img src="./assets/vue.svg" class="logo vue" alt="Vue logo" />
    </a>
  </div>
  <HelloWorld msg="Vite + Vue" />
</template>

<style scoped>
.logo {
  height: 6em;
  padding: 1.5em;
  will-change: filter;
  transition: filter 300ms;
}
.logo:hover {
  filter: drop-shadow(0 0 2em #646cffaa);
}
.logo.vue:hover {
  filter: drop-shadow(0 0 2em #42b883aa);
}
</style>
Have fun
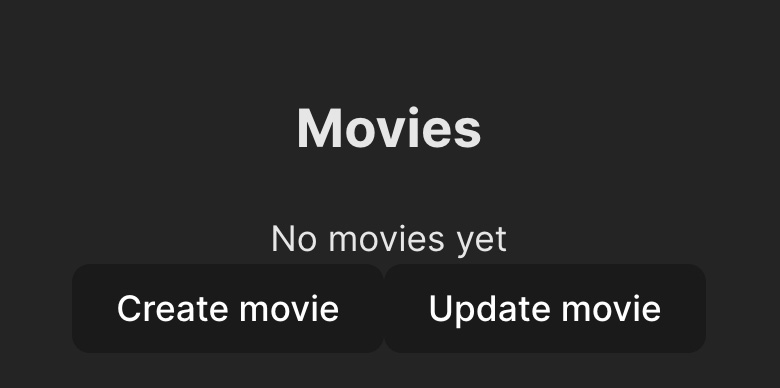
Art the top of the front-end application the new component requests the movies to the Platformatic app and list them.
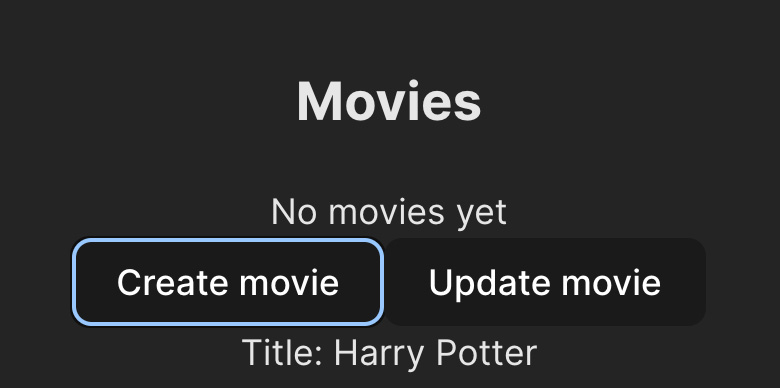
Click on "Create movie" to create a new movie called "Harry Potter".
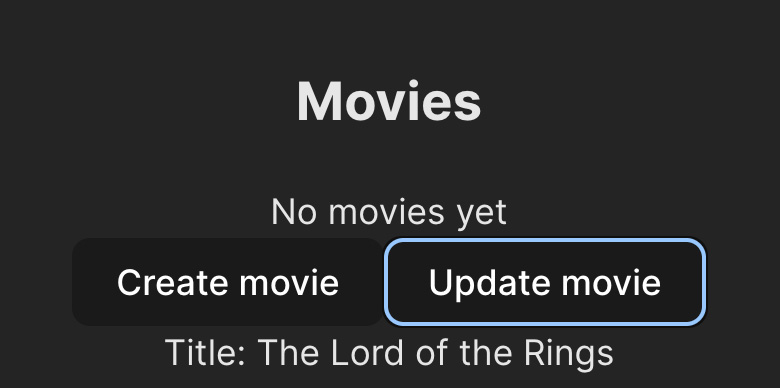
Click on "Update movie" to rename "Harry Potter" into "Lord of the Rings".
Reload the front-end application to see the new "Lord of the Rings" movie listed.
 .
.